
Witnessing the spectacle of the Northern Lights is a popular inclusion on bucket lists around the world. One of the best places to catch a glimpse of the Aurora Borealis is Iceland, where my husband and I have just enjoyed a few days’ holiday.
Whilst we were there, we were lucky enough to see the Northern Lights.
I’ve been planning this trip for months, in the hope of being able to capture a few photographs of the phenomenon. The problem is, although I’m not a bad amateur photographer, I’m far from an expert when it comes to using my DSLR on manual.
And if you’re going to photograph the Northern Lights, then you need to switch off the auto controls and get used to managing the camera on manual.
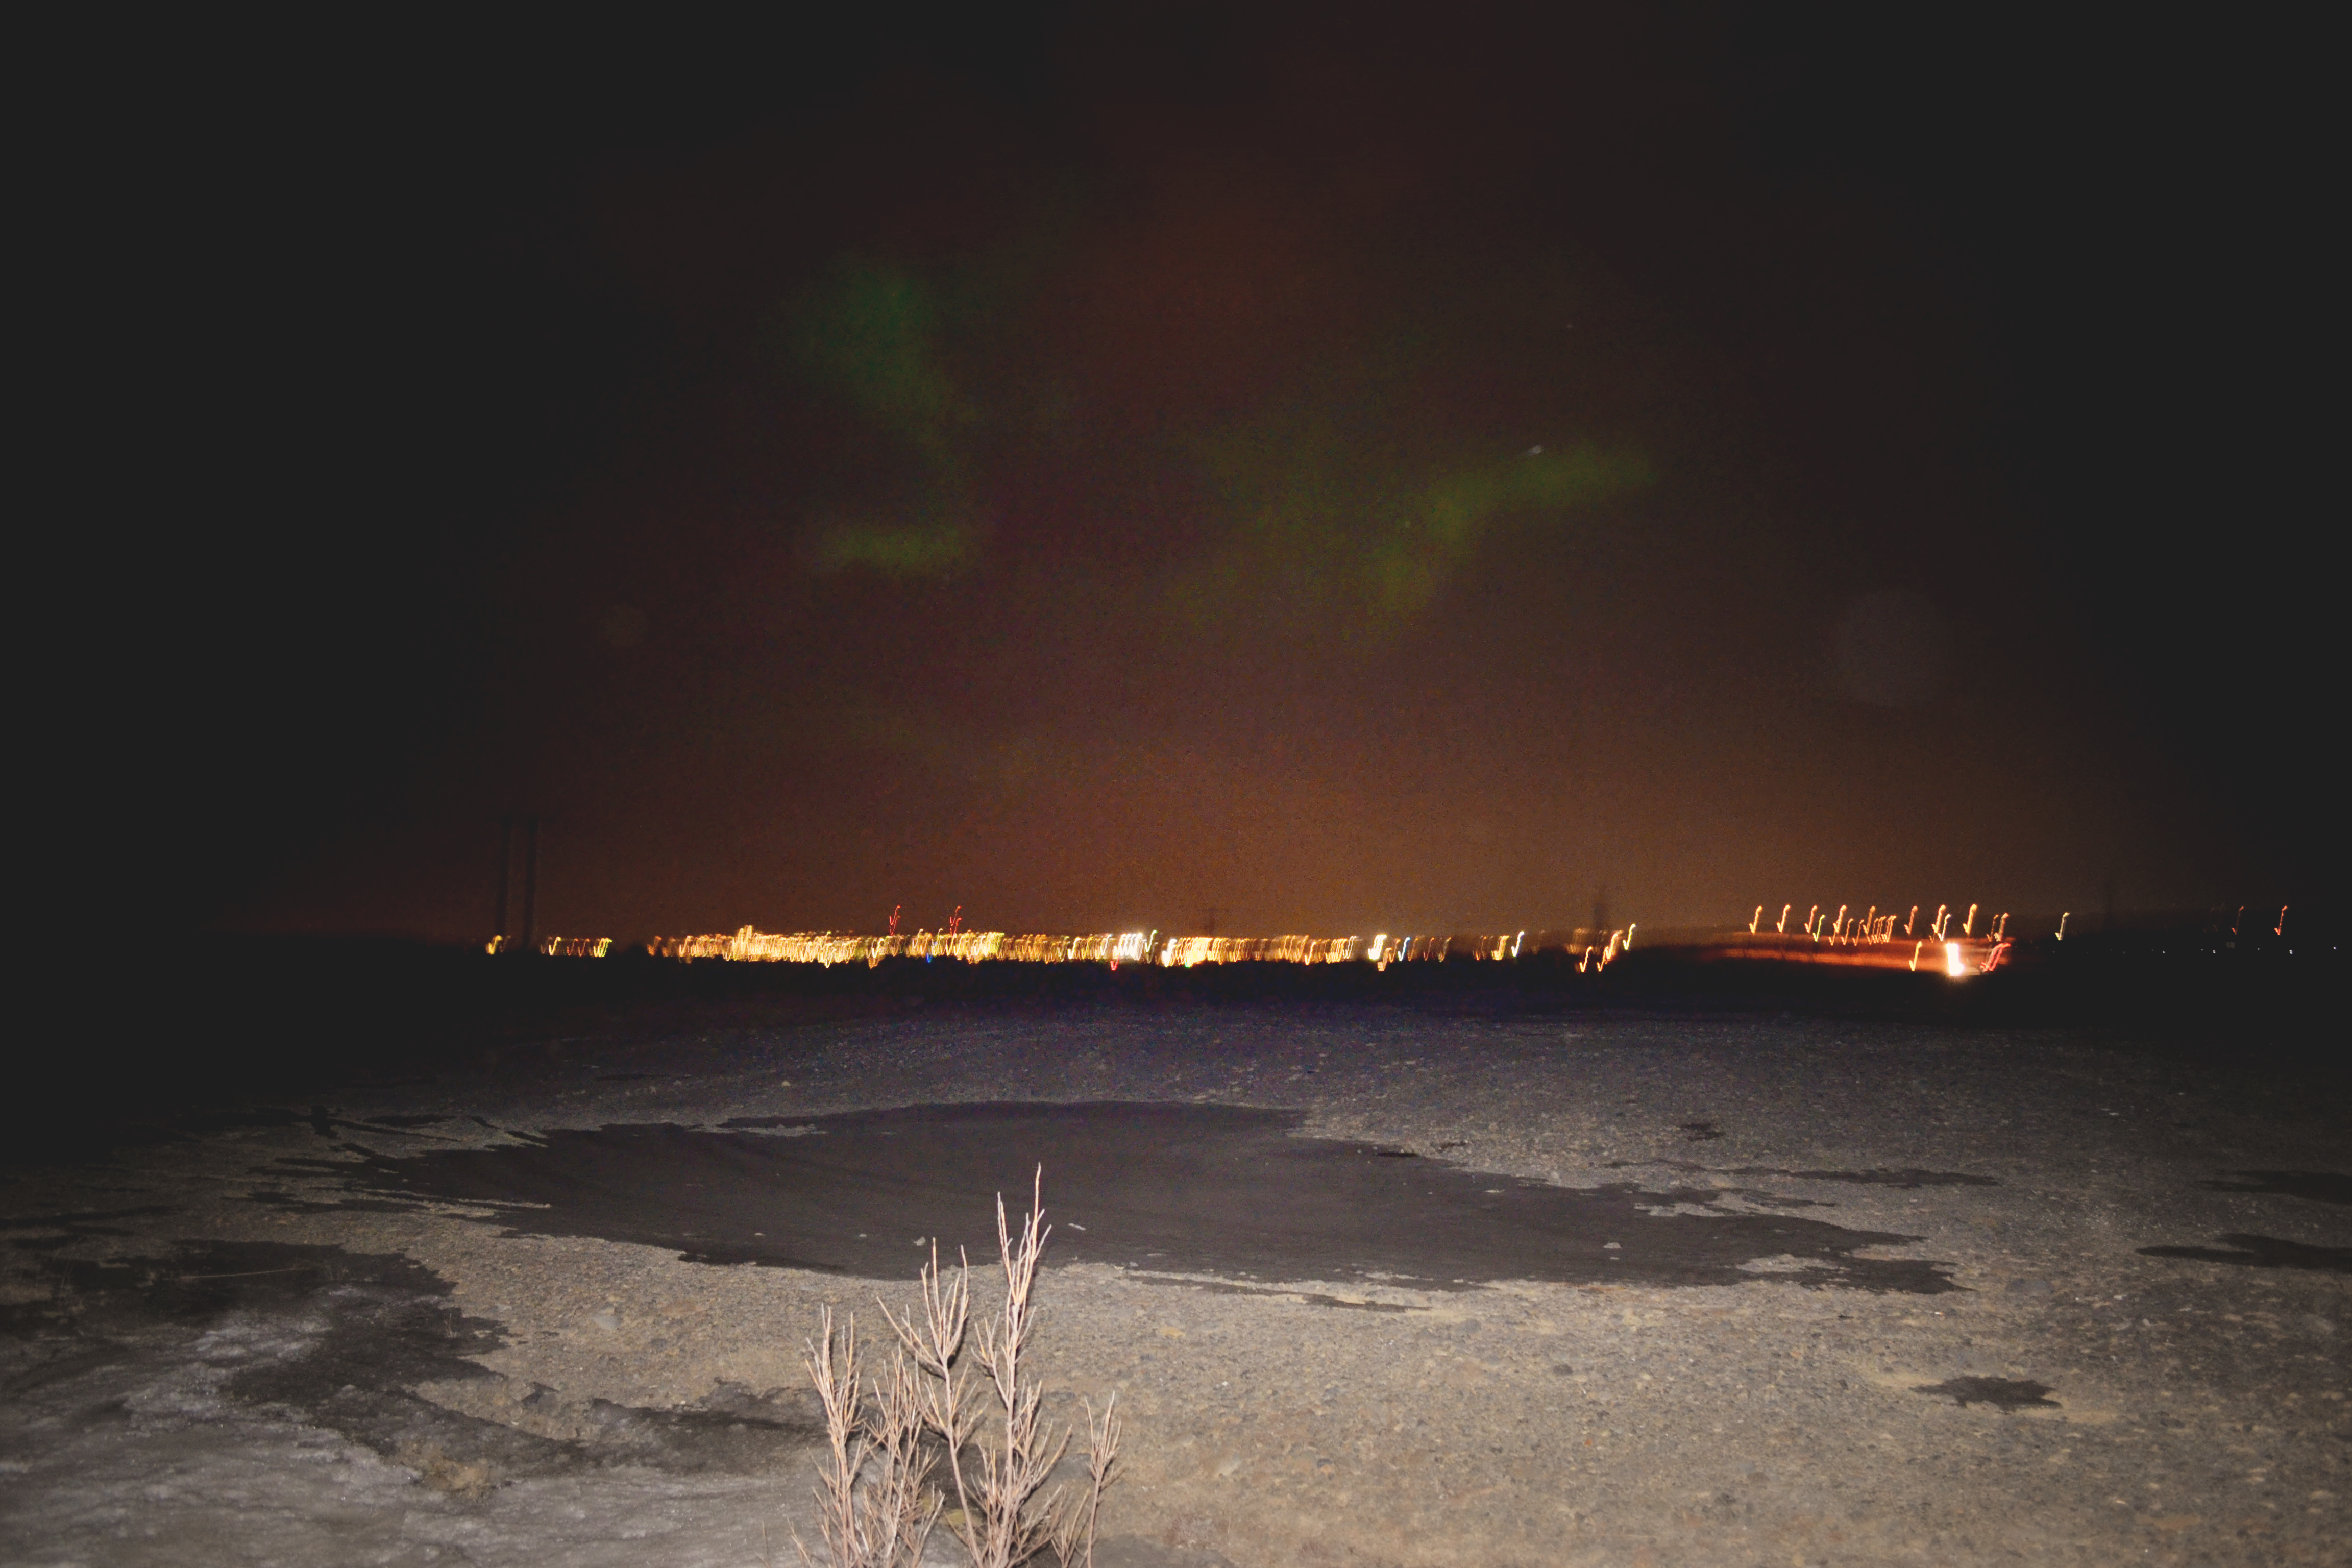
During our evening tour, I managed to snap one single image of the lights, which you can see above. Granted it’s not the best picture and it doesn’t reflect how the lights actually looked, but I was pretty proud to have caught something on camera at my first attempt. Not least because it is a good way of illustrating a few tips on photographing the Northern Lights.
If you’re planning a Northern Lights trip, but you’re not sure where to start when it comes to photography, these tips might help:
Use a tripod
To capture the Aurora Borealis in all its glory, you need to aim for a long exposure shot. That means that you need to adjust the shutter speed to allow as much light as possible into the lens.
You’ve probably seen those photos of the Northern Lights where the colour seems to swoop fluidly across the sky; these are some great examples. To achieve this, you need to use a tripod to stop the camera from wobbling.
Look behind you
On our tour, we only saw the Northern Lights briefly. One of the passengers on our bus spotted them and the driver managed to pull over into a layby at the side of the road. We scrambled off and I tried (and failed) for about five minutes to get a shot of the lights in front of us.
As we were at the back of the group, we turned round and saw the tail end of the lights disappearing behind us, back towards the streetlights of Reykjavik in the distance. Frustrated, as the lights were fading, I held up my camera and snapped the shot that you can see above.
If I hadn’t remembered to turn around, I wouldn’t have a photograph at all.
Focus on something in the foreground
The reason my first few attempts at photography failed?
There was nothing in the foreground for the camera to focus on. As we were in a layby at the side of the road out in the countryside, there were no houses, structures or streetlights in that direction. There weren’t even any bright stars visible in the sky.
But you can see from the photo above why the camera managed to focus. As well as a couple of scrubby plants and patches of ice in the foreground, the city lights are also visible on the horizon, giving the camera something to lock onto.
Focusing the camera in the dark is easier said than done, especially if, like me, you only have a few moments to try and take your shot. But if you get lucky and witness a longer display of the lights, take your time getting set up and composing your shot with something in the foreground.
Switch off the flash
You need to have your flash turned off to get a good shot of the Northern Lights. Plus, if you forget, you’re likely to annoy anyone around you when your flash ruins their photo.
Check your settings
This is the hard part, as there are a few things to remember. If you’re not familiar with the manual controls on your camera, take some time to get to know them before you go on your trip. You don’t want to be scrambling around in the dark at the last minute figuring your camera out.
I have a Nikon D3100, which is an entry level DSLR and before I went out to shoot the Northern Lights, I made sure it was on manual and that I’d set my ISO to 800 and my shutter speed to about 20 (seconds).
A high ISO is best for taking photos at night and a slow shutter speed works for long exposure shots. Of course, your camera might be different, so check your handbook and experiment a bit with settings, if you can.
Set the self-timer
Or use a remote to activate the camera, as this reduces the shake from your movements. On long exposure, the slightest motion will have an effect on the image.

As I said before, I’m far from a professional photographer, but these tips all helped me to prepare for the Northern Lights, and they’ve actually provided me with a better understanding of my camera for the future.
If you want a more detailed guide on Northern Lights photography, this website is really useful and even has an e-book available for download.
A few more things…
The Northern Lights are quite common in Iceland, but that doesn’t mean you’re guaranteed to see them. The lights are a mysterious phenomenon, and as our guide advised us on the trip, they don’t always follow their own rules.
However, if you’re going to have the best chance of seeing them, you need to head to Iceland between September and April. That might sound obvious, but you’d be amazed at the number of people who asked us if we’d seen the lights when we first visited Iceland last June, when it’s daylight for almost 24 hours a day.
The weather also has a big effect on your chances of seeing the lights and if conditions are likely to be poor, tours will be cancelled. In fact, the two nights following our trip, the Northern Lights tours were cancelled as the weather was very cloudy, reducing visibility. But only three or four days before, some of the best lights for months were seen, including hints of red and purple, which are rare. The lights we saw were beautiful, but low level and not as bright.
Don’t go out too early, as 10:30pm to 1:30am is the best time to see the lights, although we saw ours at 9:30pm.
Although we enjoyed our trip, in future I’d love to take a smaller tour further out into the countryside. After seeing the lights, our bus called in at a roadside café with another two coaches where the staff waited to hear of further sightings. Unfortunately, nothing more happened, so we were there for over an hour, before heading back to Reykjavik.
I might not have managed to take the best photo (or follow all my own advice), but I’m pleased I got to see the Northern Lights, as they really are beautiful.


Thank you so much for this post. I am off to Iceland to try and see the Northern Lights in about 3 weeks time and have been researching the best camera settings to use so this post has come at a wonderful time. Thank you so much for sharing:-)
I’m so glad you found this post useful, Pauline. Fingers crossed for your Northern Lights trip, hope you have a wonderful time!
Tripods are lifesavers when it comes to nighttime photographs, also setting a time delay or having an remote is a great help so the camera doesn’t shake when you press the shoot button.
Absolutely, good tip!
The Northern Lights? I’m so jealous! One day I’ll get to see them 🙂 And this will come in handy!
Definitely, you’ll love them!
Amazing!! I would love to see the Northern Lights as well! So beautiful!
~Sara
Even at a low level they’re beautiful, Sara!
Hi Amy!
Thanks for posting this. I know I’m a year late to the game. I live in Maine, USA. Last night, after waiting my entire life, I finally saw the aurora from my home. More accurately, I saw a faint green hue on the horizon with very little pulsing, but I saw it nonetheless. I also have a D3100, and I thought I was prepared to take some photographs, but when I was all set up and ready to go, I could NOT get it to WORK. I wish I found your post last night. If I could go back in time 12 hours, I would direct myself here to your post and also tell myself to place black electrical tape over the AF assist illuminator and to make sure my lens if on Manual focus to avoid the “Subject too dark!” alerts my camera gave me. I’m looking to visit Reykjavik and Akureyri sometime next year, so perhaps for now I’ll just practice at fireworks displays.
That sounds amazing, Ella – I’d love to see the aurora at home! Hope you make it to Iceland, it’s such an amazing and unique place and there are plenty of photo opportunities, not just for the Northern lights but all the gorgeous landscapes too.